We started with two balloons, one for the body (about the size of a grapefruit) and a smaller one for the head. I have students tape the balloons together with masking tape. They can position the balloons so that the knot is where the beak will be on the head. HINT: I also have students tape the knot of the body balloon to the table, it really helps to keep the balloons from rolling all over the place.
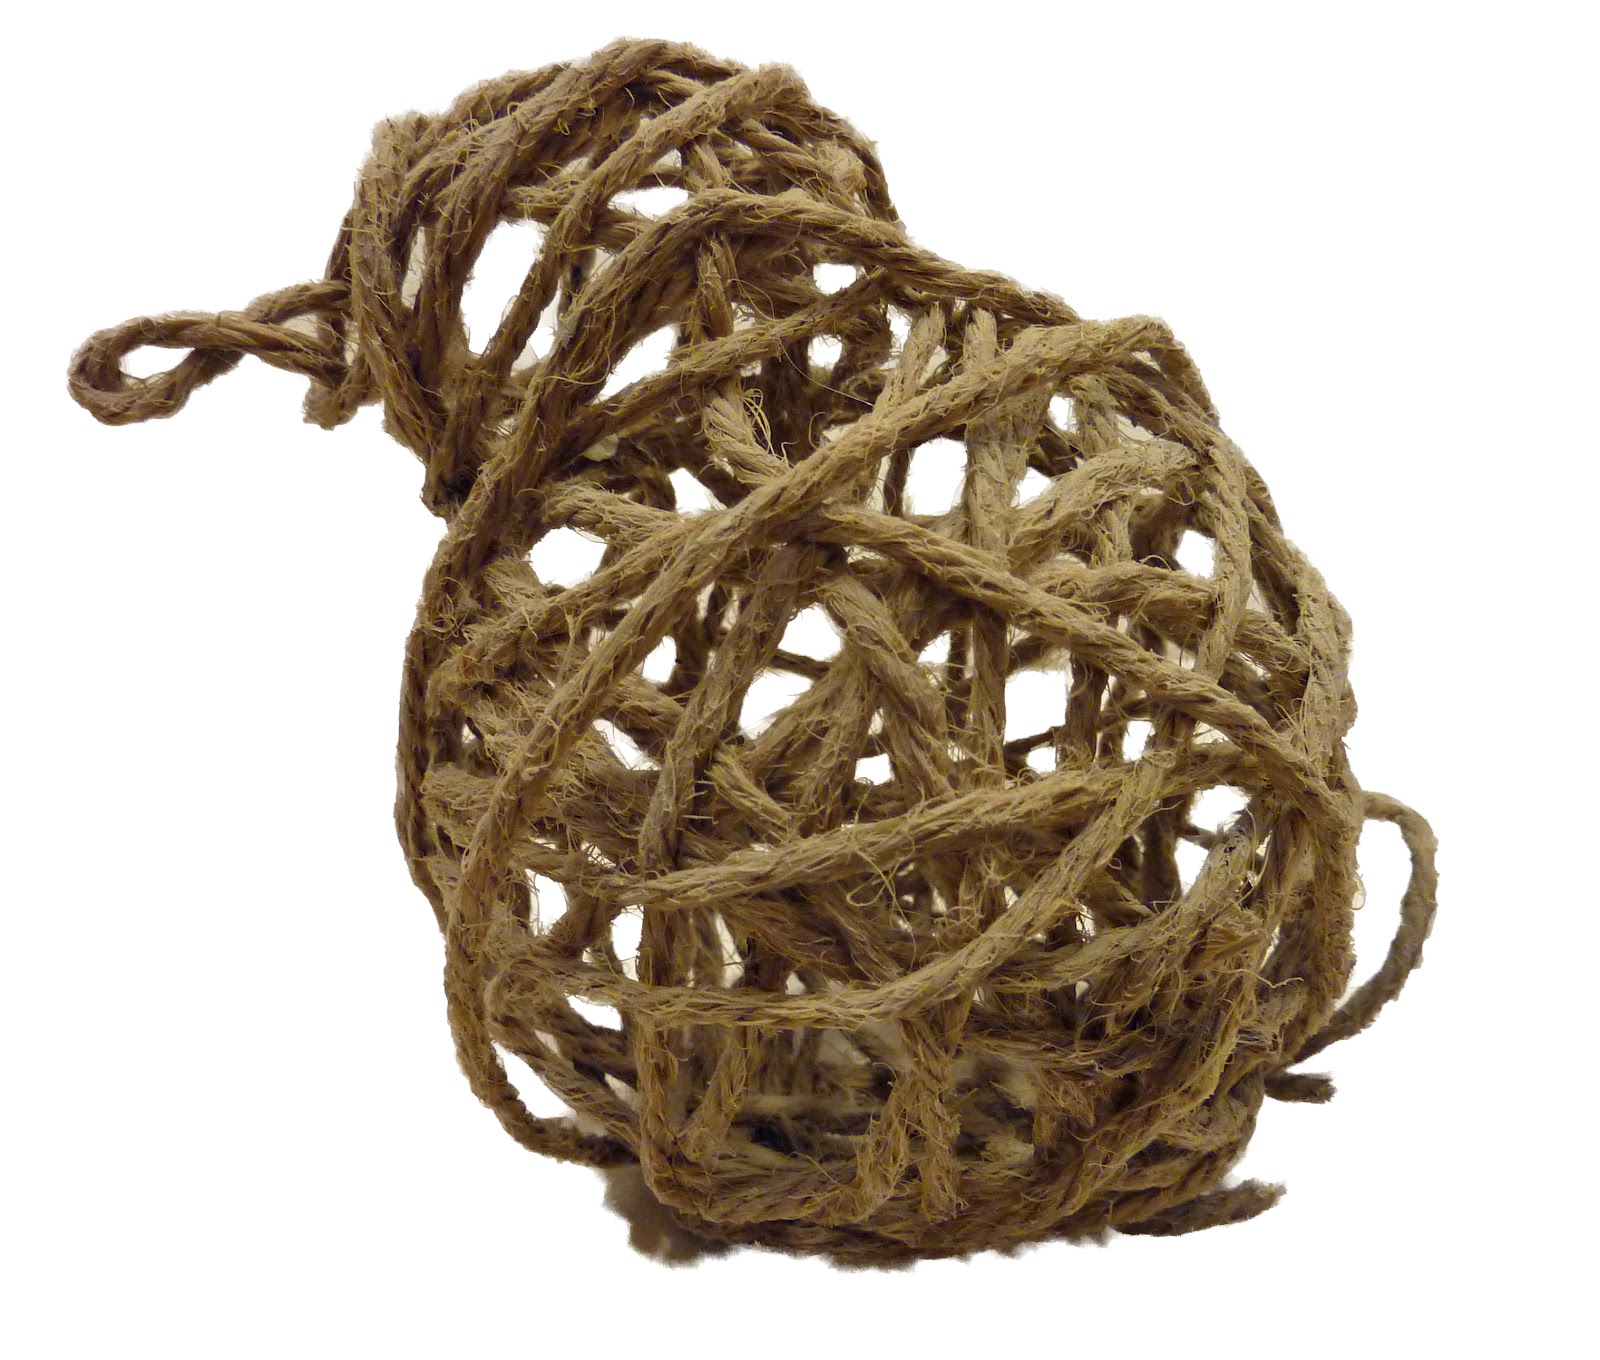
Once the basic form is ready, we took long lengths of twine and dipped them into fabric starch. HINT: Any natural fiber string will work for this! The twine was then wrapped around the balloons and thought was given to the pattern of the wrapping while still maintaining the shape of the bird. Some students let strings hang off of the back of the birds body in loops to create a tail, you could also do wings the same way. Once wrapped, they were left to dry overnight. As they dry the balloons should start wilting and peeling away from the string, if not you can pop the balloon. Pull out all of your tape and balloons through one of the holes. You can leave your bird with the natural string color or spray paint it. Nests and eggs can be made the same way if you want to take it to the next step!
!!!B CR8IV!!!
No comments:
Post a Comment