Showing posts with label string. Show all posts

Wednesday, April 18, 2012

Paper Bead Necklaces

In a tent city called Delmas 33 in Port au Prince Haiti, workers were busy creating beads from garbage papers they had found.  On a recent trip there, HOPE Art was lucky enough to learn how to make them and watch as they turned trash into necklaces, bracelets and earrings to be sold in the states which would in turn provide income and employment to Haitians.  I made the ones in the picture using a combination of magazines, postcards and food packaging.  


Collect your materials and  cut them into long skinny triangles.  The widest width of the triangle will be how wide your bead is and the length will determine thickness of your beads.  The thickness of the material you're using will also change the thickness of the bead.  Experiment with a few different sizes to gauge what kind of beads you want to make.  Next using a skewer, start to wrap the paper around the skewer tightly, starting with the widest part of the triangle.  When you get to the end, use a bit of glue to keep the bead from unwrapping.  Continue making your beads this way, you can keep them on the skewer if that's easier.  Once you have all your beads made you'll want to coat them with a clear lacquer to protect the paper, you can use clear spray paint, clear nail polish, modpodge, what ever you've got on hand.  You'll probably want to do a few coats and just keep the beads on the skewer the whole time until they dry.  Once dry, use some fishing line and other colorful beads to assemble your found art jewelry.   


!!!B CR8IV!!!

Friday, February 17, 2012

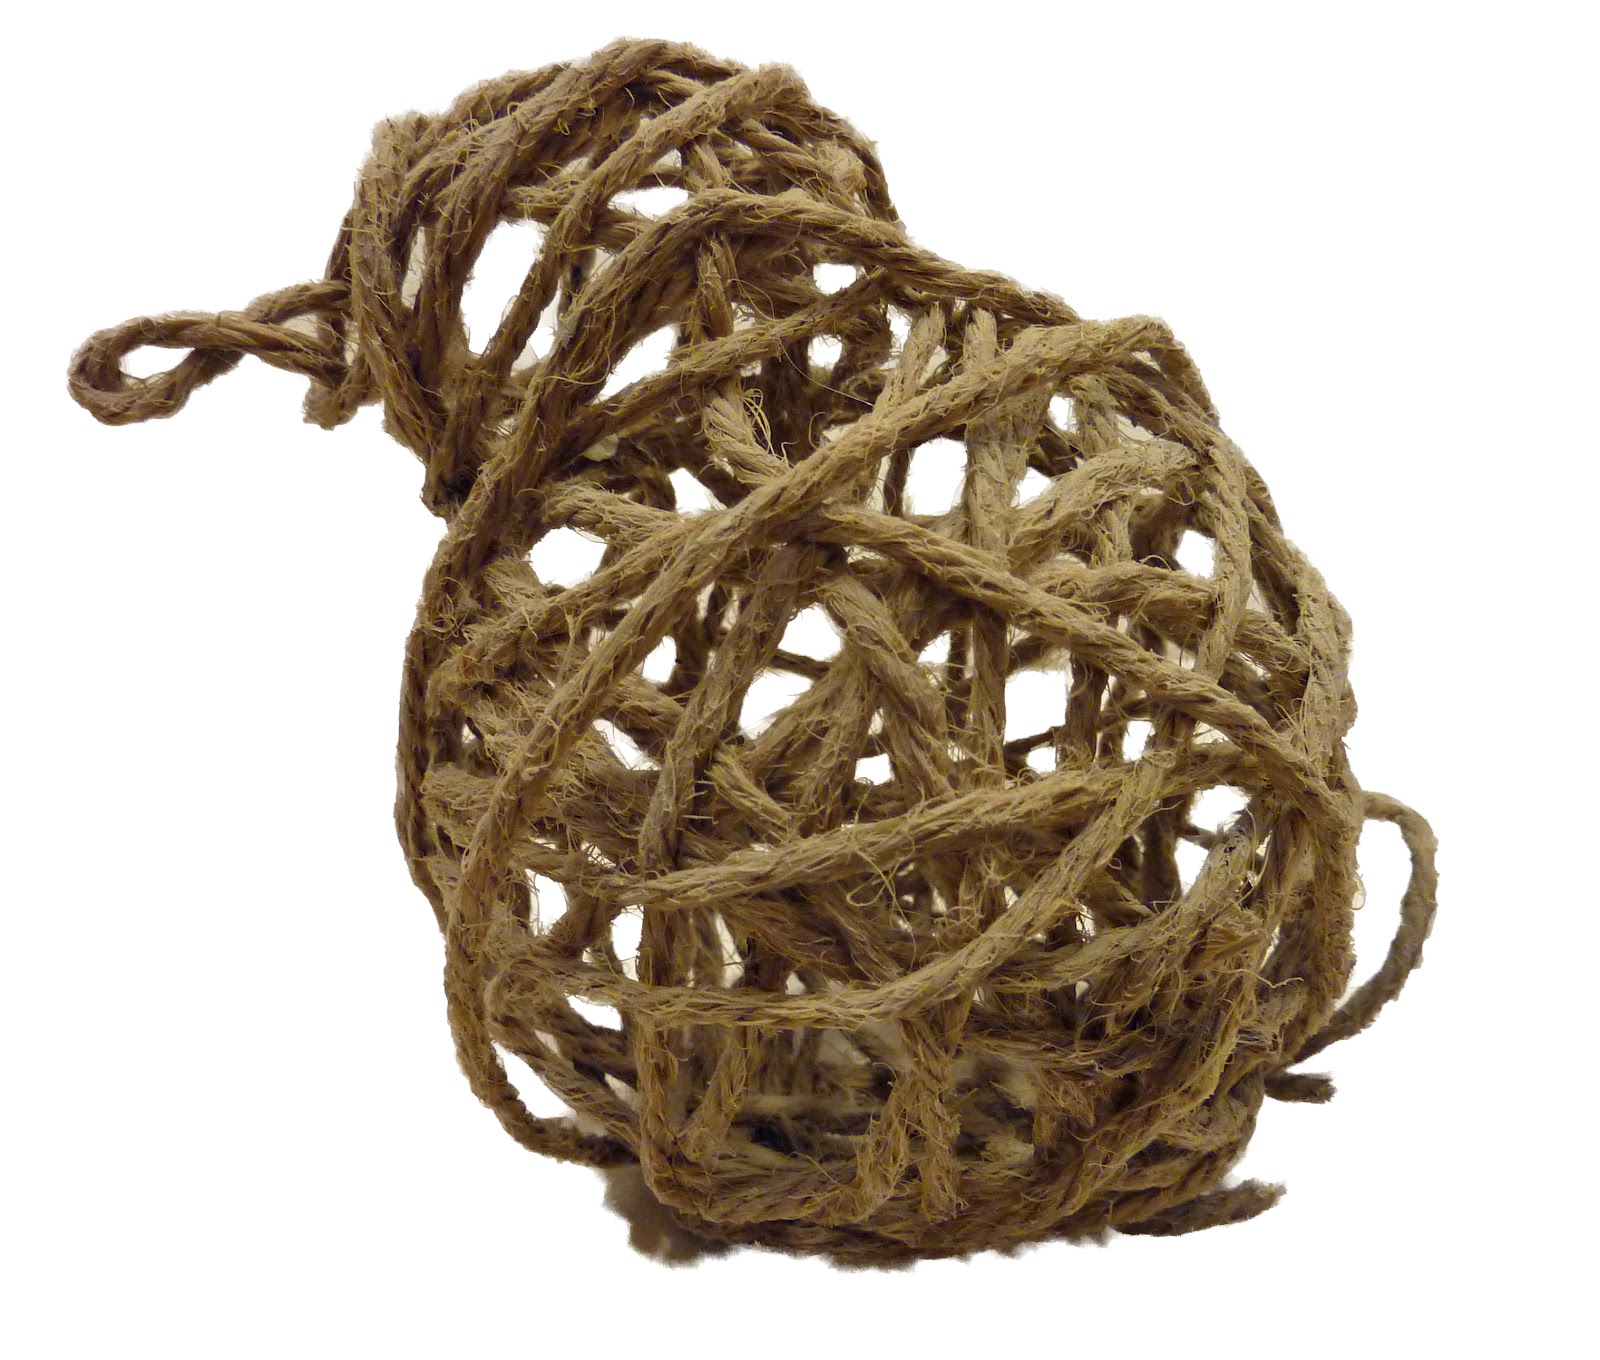
Twine Bird

I created these hollow bird forms with my students as a way to express line and volume.  The artists Christo and Jeanne Claude would be great examples to introduce with this project too.

We started with two balloons, one for the body (about the size of a grapefruit) and a smaller one for the head.  I have students tape the balloons together with masking tape.  They can position the balloons so that the knot is where the beak will be on the head.  HINT: I also have students tape the knot of the body balloon to the table, it really helps to keep the balloons from rolling all over the place.

Once the basic form is ready, we took long lengths of twine and dipped them into fabric starch. HINT: Any natural fiber string will work for this!   The twine was then wrapped around the balloons and thought was given to the pattern of the wrapping while still maintaining the shape of the bird.  Some students let strings hang off of the back of the birds body in loops to create a tail, you could also do wings the same way.  Once wrapped, they were left to dry overnight.  As they dry the balloons should start wilting and peeling away from the string, if not you can pop the balloon.  Pull out all of your tape and balloons through one of the holes.  You can leave your bird with the natural string color or spray paint it.  Nests and eggs can be made the same way if you want to take it to the next step!

!!!B CR8IV!!!