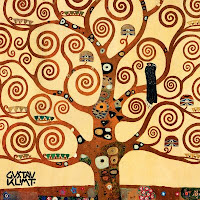
Begin by showing Gustav Klimt's Tree of Life mural and some of other his other paintings to students and discuss his repeated use of gold and patterns in his work. Have students find patterns in his work and practice drawing them with markers on paper.
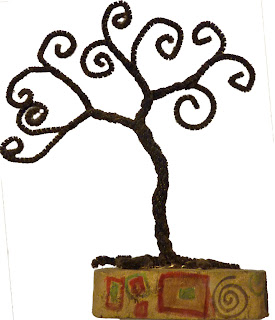
To build the tree, give each student at least 10 pipe cleaners that are about 12" long (color doesn't matter here). Have students stack the wires in a bundle and twist them together in the middle of the bundle to create the trunk of the tree. Leave some wires splayed out at the bottom for roots and about 5" of wire left for the branches -little hands may need help with this.

For the roots, divide the 10 wires into small groups of 2 -3 wires, twist those and then divide them up into groups of 1-2 wires and twist the groups of 2 until you have just little wire ends left. The idea is to have the roots look like they are going from thick to thinner and thinner pieces. The branches will be created the same way, separate the wires into small groups and twist, separate them in to groups again and twist. When you get to the end of the tree branches, use a pencil to wrap the end of the wire around to create the spiral that is used frequently in Klimt's paintings. One all of the branches have been formed, take the time to arrange them so that the spirals are visible and the tree should start to balance standing.
Next, give each student a small block of wood for the base of the sculpture, have them sand it down and use hot glue to attach their trees to the wood. Have students put their names on the bottom of the wood. Using gold spray paint, paint the trees and wood completely, and let dry. Last, have students use Sharpie Markers to draw on their Klimt style patterns onto the block of wood.
!!!B CR8IV!!!

